Mastering Page Deletion in Microsoft Word: Your Ultimate Guide to Effortless Editing
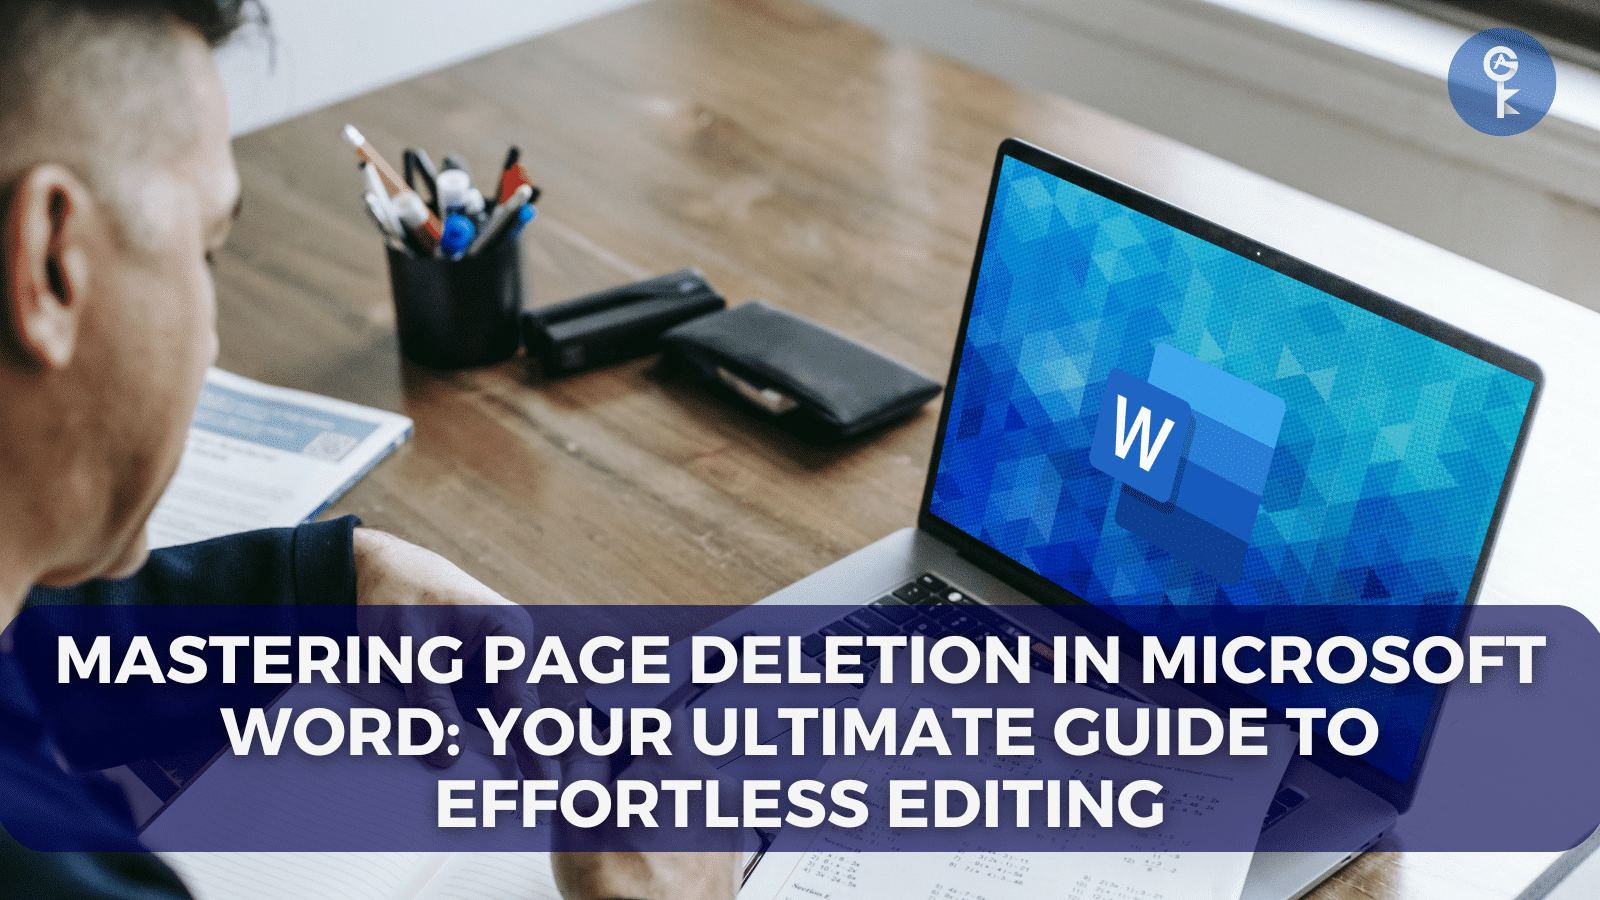
Microsoft Word is a versatile tool that empowers us to craft impeccable documents, but occasionally, formatting can prove a bit elusive. In this article, we’ll unravel the mystery of deleting pages in Word, equipping you with the skills to remove unwanted pages, including insights on how to delete a page in Word Mac.
Whether you’re a seasoned Word user or just starting your journey, you’ll find these techniques invaluable for tidying up your documents and ensuring their professional presentation. From removing blank pages to handling hidden page breaks, we’ll guide you through the process step by step.
Understanding the Importance of Deleting Pages
As the go-to word-processing application on both Windows and Mac, Microsoft Word offers a plethora of features to enhance your document creation experience. However, encountering unexpected blank pages can be a nuisance, potentially giving an unpolished impression to readers. To maintain the integrity of your work, it’s crucial to master the art of deleting pages.
In this comprehensive guide, we’ll cover various scenarios and methods for deleting pages in Word. Whether you’re dealing with unwanted content, invisible page breaks, or perplexing blank pages, we have you covered.
The Basics: Deleting Pages in Word
Let’s start with the basics. If you’re looking to delete a page that contains text, graphics, or empty paragraphs, you can follow these simple steps:
- Place your cursor anywhere on the page you wish to delete.
- Press the Ctrl+G shortcut (or Command+G on Mac) to bring up the “Go To” dialog box.

- In the “Enter page number” field, type \page.
- Press Enter and then click “Close.”
- Ensure that the entire page’s content is selected and hit the Delete key.
Word for Mac Users: Deleting Pages
For those using Word on a Mac, the process is slightly different but just as effective:
- Click anywhere on the page you want to remove.
- Press Option+⌘+G to access the “Go To” dialog box.
- Enter \page in the “Enter page number” field.
- Hit Enter, click “Close,” and ensure the page’s content is selected.
- Finally, press the Delete key to bid farewell to the unwanted page.
Overcoming Common Challenges
Sometimes, seemingly stubborn pages resist deletion. This can occur due to hidden page breaks, peculiar text colors, or tiny fonts. Fear not; we have solutions:
- Hidden Page Breaks: These sneaky culprits often result in unexpected pages. Locate the page break and remove it to delete the corresponding page.
- Matching Text Colors: If text blends with the background, it might appear as a blank page. Adjust text colors or delete the content to resolve this.
- Invisible Fonts: Tiny fonts, like a 1pt size, can be hard to spot. Increase the font size to locate the content and delete the page.
Advanced Techniques for Page Deletion
Beyond the basics, advanced techniques offer more tailored solutions:
- Go-To Function: Use the Go-To function to quickly select all content on a page and delete it.
- Navigation Pane: Utilize the Navigation Pane to identify blank pages and remove them.
- Paragraph Marks: Uncover hidden paragraph marks (¶) to reveal hidden content and delete pages.
- Page Breaks: Remove manually inserted page breaks that hinder page deletion.
A Last Resort: Online Tools
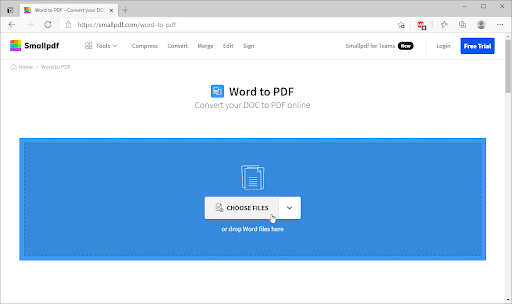
When all else fails, online tools can save the day. Websites like Smallpdf allow you to convert Word documents to PDF and then edit them, including deleting unwanted pages.
Conclusion
Mastering the art of deleting pages in Microsoft Word is an essential skill for anyone aiming to produce polished and professional documents. Armed with these techniques, you’ll confidently navigate the world of formatting and ensure your documents make a stellar impression.
So, whether you’re a Windows user, a Mac enthusiast, or an online tool aficionado, these methods will empower you to conquer stubborn pages and present your work flawlessly. Remember, in the realm of document creation, control over content extends to content removal, ensuring that every page serves a purpose and contributes to your narrative.
More Articles
- How to Restore Your Windows Key and Supercharge Your Workflow on Windows 10/11
- Why Using a Genuine Microsoft Visio Product Key is Essential
- The Ultimate Guide to Windows 10 LTSC Keys: Benefits, Features, and Activation
Stay Connected with All Good Keys
We hope this Blog/Article has been helpful . However, if you still have questions or concerns, our team of experts is always available to assist you. Contact us through email, live chat, or phone, and we’ll be happy to help you out.
Don’t miss out on our latest blog posts, promotions, and discounts. Subscribe to our newsletter for early access to exclusive content and the best deals on all products available at AllGoodKeys. For more tech-related articles, check out our blog page, which is updated regularly with fresh content. Thank you for choosing AllGoodKeys!


