



How To Upgrade SQL Server Evaluation To Standard Edition Without Reinstalling

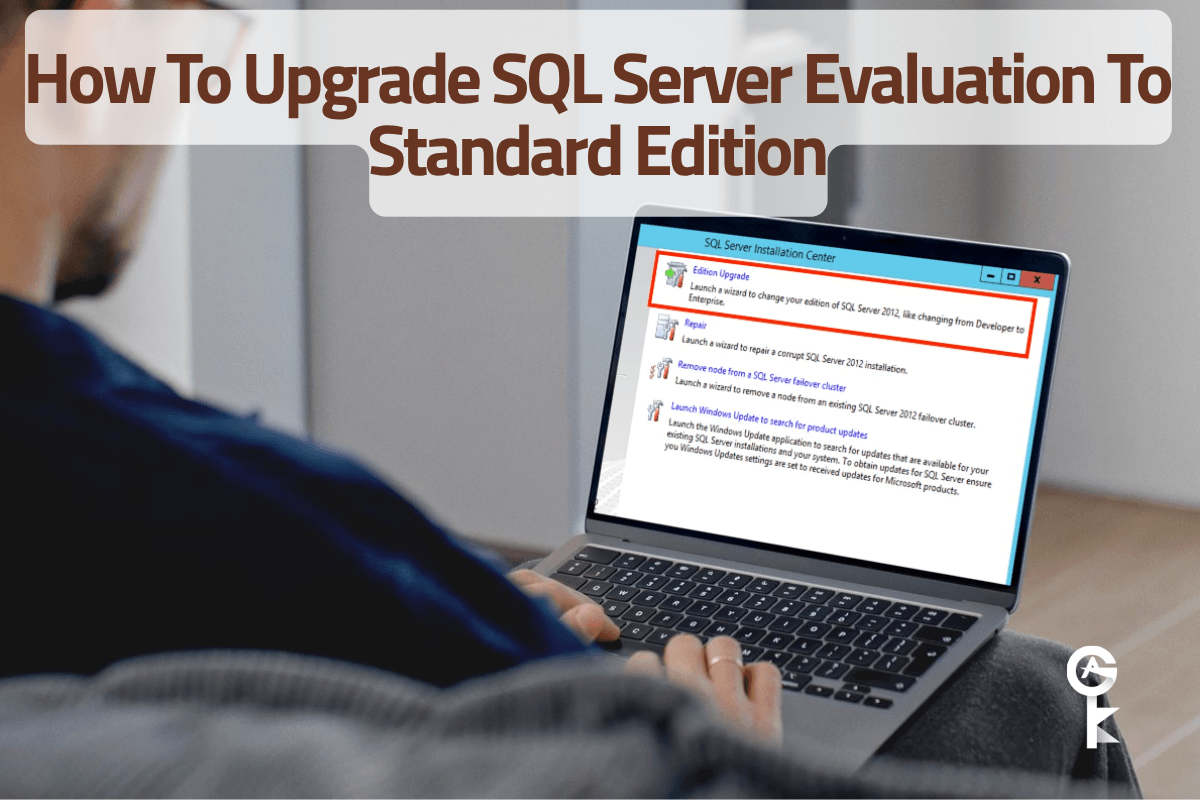
How To Upgrade SQL Server Evaluation To Standard Edition Without Reinstalling is a task every database administrator eventually faces when a trial period expires and panic starts to set in. You deployed a shiny new SQL Server instance for a proof of concept, configured dozens of tables, security policies, and connection strings, and now the 180-day evaluation clock has run out. Reinstalling the database engine from scratch sounds like a nightmare scenario involving broken logins, orphaned users, and hours of downtime that management simply will not approve. Thankfully, Microsoft built a clean, native path to switch your edition in-place without dropping a single table or losing your hard work.
Table of Contents
Understanding the Root Cause
When you install SQL Server using an evaluation media kit, the setup installer writes specific edition binaries and registry flags that restrict your software license. Once those 180 days tick down to zero, the database engine refuses to start up completely, throwing licensing errors in the Windows Event Viewer and SQL Server Error Log. The core issue isn’t that your database files are corrupted or incompatible; it is simply an administrative block enforced by the setup wizard. To fix this, we need to feed the setup engine a legitimate product key for a paid tier, which unlocks the binaries and updates the system metadata seamlessly.
Before jumping straight into the command line, it helps to understand what Microsoft’s setup infrastructure expects. According to official guidelines provided in the Microsoft SQL Server Upgrade Documentation, transitioning between certain editions requires specific product paths. For instance, moving from an Evaluation edition directly to a Standard or Enterprise edition is fully supported as an in-place upgrade path, whereas moving backward to a lower tier like Express is generally restricted.
Prerequisites and Safety Checks
Never perform an in-place modification on a production database server without taking a comprehensive backup first. While the upgrade process is remarkably stable, unexpected power outages or underlying operating system corruption can turn a simple license update into a recovery nightmare. Open your SQL Server Management Studio or fire up your backup scripts to ensure all user databases and system databases are safely backed up to an external drive or cloud storage provider.
You must also verify that you have local administrator rights on the Windows server and that you possess a valid, unused product key for the edition you are targeting. If you need to acquire legitimate licenses for your infrastructure, you can easily Browse Microsoft Servers Licenses to find the exact version matching your deployment needs.
Executing the Edition Upgrade
The most reliable way to execute this transformation is through the command line using your original installation media. First, mount your SQL Server installation ISO or insert the physical installation media into the target machine. Note the drive letter assigned to the mounted ISO, as you will need it to target the setup executable properly. Open your Windows Command Prompt with elevated privileges by right-clicking the shortcut and choosing Run as administrator.
Navigate to the root directory of your mounted installation media or simply execute the setup command directly by referencing the full path of the setup.exe file. You will use the /ACTION=editionupgrade switch along with your PID supplying the product key. This tells the installer to bypass the graphical user interface and silently rewrite the licensing configuration for the targeted instance name.
D:\setup.exe /ACTION=editionupgrade /INSTANCENAME=MSSQLSERVER /PID=XXXXX-XXXXX-XXXXX-XXXXX-XXXXX /IACCEPTSQLSERVERLICENSETERMS=TrueIf your deployment uses a named instance rather than the default MSSQLSERVER instance, make sure you adjust the instance name parameter in the command string accordingly. For deeper technical insights regarding command-line setup switches, you can cross-reference the parameters on the Microsoft Configuration File Documentation page to ensure every argument matches your specific environment.
Verifying the Upgrade
Once the command execution finishes running and the command prompt returns your standard directory path, it is time to confirm that the changes took effect. The setup logs will be written to the default path inside the Program Files directory, usually located under Microsoft SQL Server/150/Setup Bootstrap/Log. Open the latest summary.txt file and look for a success message indicating the edition upgrade completed without fatal errors.
You should also query the database engine directly to verify the active edition string reported by SQL Server itself. Fire up SQL Server Management Studio, open a new query window, and execute a quick T-SQL select statement against the built-in server property functions. This gives you absolute, undeniable confirmation straight from the engine instance.
SELECT
    SERVERPROPERTY('ServerName') AS ServerName,
    SERVERPROPERTY('Edition') AS Edition,
    SERVERPROPERTY('ProductLevel') AS ProductLevel,
    SERVERPROPERTY('ProductVersion') AS ProductVersion;
If the query returns Standard Edition instead of Evaluation, congratulations! You have successfully completed the procedure without touching your databases, losing your logins, or dealing with the headache of a full software reinstallation. Finally, restart the SQL Server service one last time to ensure all scheduled jobs and internal worker threads spin up cleanly under the newly unlocked enterprise feature set.


