



How To Rebuild Windows 11 EFI Bootloader Fix Error Code 0xc000000f

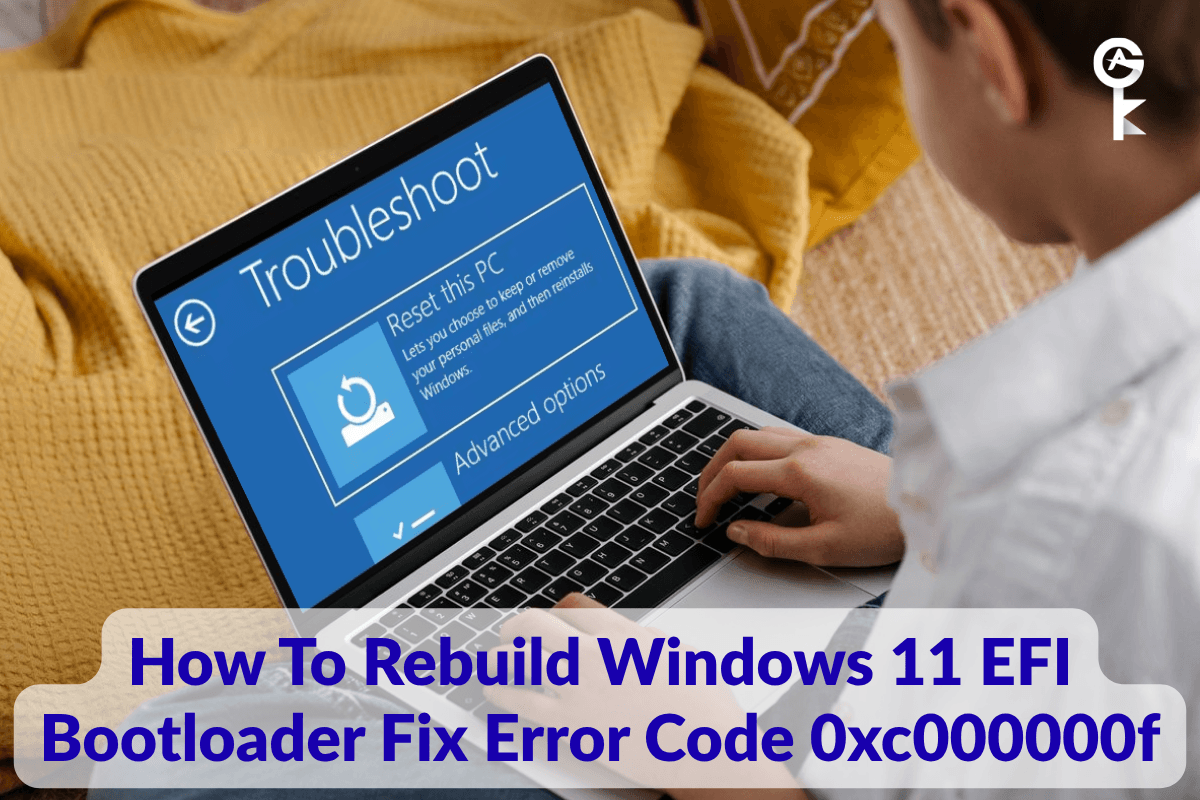
If you are staring at a dreaded blue screen with error code 0xc000000f, you are probably wondering how to rebuild Windows 11 EFI bootloader fix error code 0xc000000f before you lose your sanity. Your PC is telling you that it simply cannot find the necessary boot files to load the operating system. This usually happens after a sudden power outage, a botched Windows update, or a corrupted storage partition. As an IT technician who has brought hundreds of unbootable machines back to life, I can tell you that this problem looks much scarier than it actually is. You do not need to wipe your hard drive or reinstall your operating system from scratch. Instead, we can manually repair the Extensible Firmware Interface, or EFI, boot partition using the Windows Recovery Environment. Let us roll up our sleeves and fix this thing step by step.
Table of Contents
Understanding Error 0xc000000f
Modern Windows 11 systems rely on the GUID Partition Table and the EFI system partition to boot up smoothly. When your PC turns on, the motherboard firmware reads the boot configuration data, known as the BCD, to find out where Windows lives on your storage drive. If that data gets overwritten, damaged, or deleted, the system stalls out and throws error 0xc000000f. To fix it, we need to boot into a recovery environment where we can safely interact with the drive partitions. You can read more about partition structures on the official Microsoft partition documentation.
Preparing Your Installation Media
Since your current installation of Windows 11 refuses to load, you will need a working computer and a blank USB flash drive that holds at least 8 gigabytes of storage space. Head over to the Microsoft Windows 11 download page to grab the official Media Creation Tool. Run that tool on the working PC, plug in your USB drive, and let it burn the installation files directly to the flash drive. Once finished, plug that USB stick into your broken computer and boot up your system, making sure to mash your boot menu key, such as F12, F11, or F8 depending on your motherboard manufacturer, to select the USB drive.
Accessing the Command Prompt
When the Windows Setup screen loads up on your broken computer, click through the initial language prompt and hit the Next button. Instead of clicking the big install button, look toward the bottom left corner of your screen and click the link that says Repair your computer. This action opens the advanced troubleshooting options menu. From there, navigate to Troubleshoot, choose Advanced options, and finally select Command Prompt. A black terminal window will pop up on your screen, giving us direct low-level access to the file system.
Locating and Assigning a Drive Letter
Once inside the Command Prompt, we need to locate the hidden EFI system partition and assign it a temporary drive letter so we can modify its contents. Type the following command to launch the disk partitioning utility:
diskpartNow that the diskpart utility is running, type the next command to list all the physical hard drives installed in your machine:
list diskIdentify which disk holds your main Windows installation, usually Disk 0, and select it by running this command:
select disk 0Next, display all the logical partitions on that specific disk by typing the partition listing command:
list volumeLook through the list and find the small EFI partition, which usually measures around 100 megabytes and is formatted as FAT32. Select that specific volume, assuming it is volume 2 for this example, by typing:
select volume 2Finally, assign a unique drive letter to this partition so we can work with it. Let us assign the letter S:
assign letter=sType exit to close out of the diskpart utility and return to the standard command prompt window:
exitRebuilding the EFI Bootloader
Now that our EFI partition is assigned to the S drive, we need to format the partition structure and recreate the boot files from scratch. Change your active directory to the EFI folder inside your Windows directory by running this command:
cd /d s:\EFI\Microsoft\Boot\If that directory path throws an error because it is completely missing, do not panic. You can recreate the boot files directly using the built-in bootrec tool. Run the following command to rebuild the BCD entirely:
bootrec /rebuildbcdTo ensure everything is completely rewritten and bound properly to your primary Windows directory, execute the ultimate repair command that copies all necessary boot files from your main OS drive over to the EFI partition:
bcdboot c:\Windows /s s: /f UEFIIf your hardware setup requires a reliable software foundation to prevent future activation loops or licensing hiccups down the road, make sure to upgrade your setup securely.
Verifying Your Repair
You have successfully completed the hardest part of the troubleshooting process. The command prompt should return a successful notification stating that the boot files were successfully created. Unplug your USB installation media from the computer so it does not boot back into the setup loop. Type exit into the command prompt window to close it completely, and then click the continue button to restart your computer normally. Your system should now bypass error 0xc000000f and boot straight into your personalized Windows 11 desktop environment.


