



How To Fix Dism Error 0x800f081f Source Files Could Not Be Found (Best Step-by-Step)

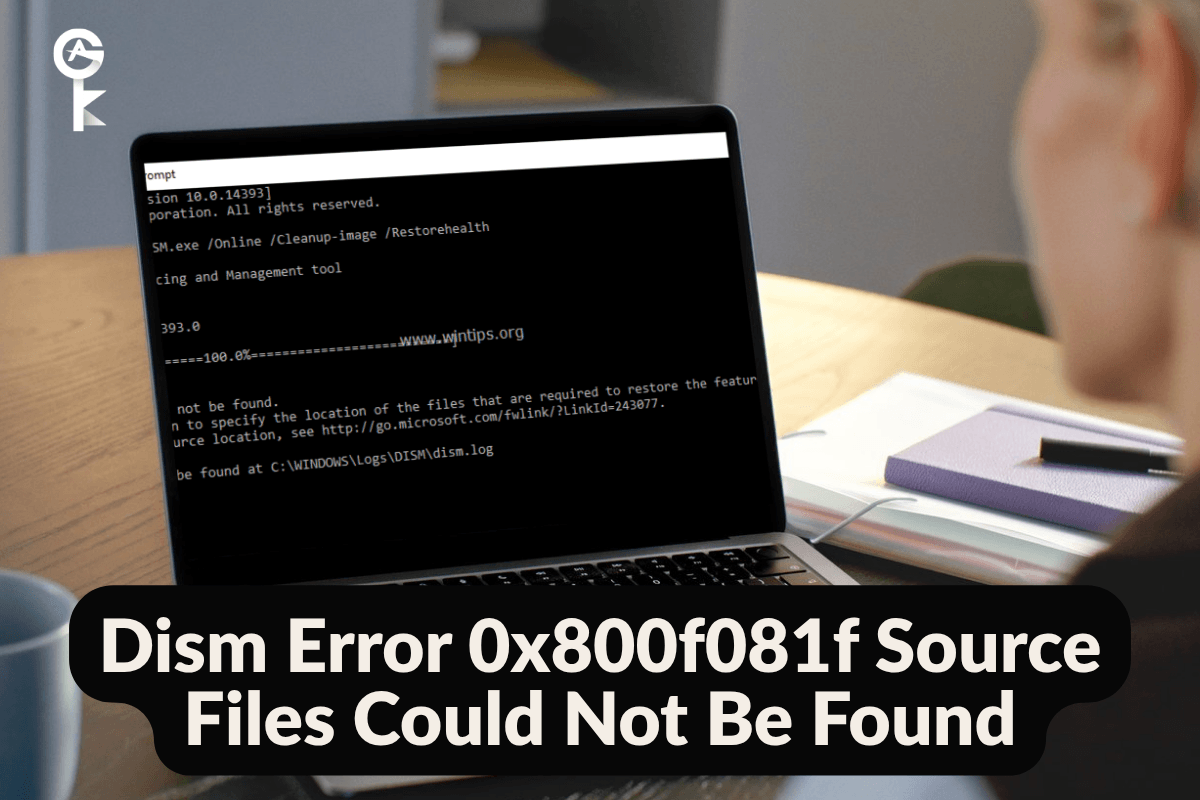
If you are wondering how to fix dism error 0x800f081f source files could not be found, you are definitely not alone. This frustrating Windows error pops up when the Deployment Image Servicing and Management tool tries to repair your operating system image, but it cannot find the necessary files to finish the job. Whether you are dealing with a corrupt Windows update or trying to enable a built-in feature, this roadblock stops your system maintenance dead in its tracks. As a senior IT technician, I have walked countless users through this exact issue, and I can tell you that it usually boils down to a missing repair source. Let us roll up our sleeves and fix this once and for all using native administrative tools.
Table of Contents
Understanding the Root Cause
Before we start hammering away at the command line, it really helps to know what is actually going wrong under the hood. When you run a DISM command to restore your health, the utility reaches out to Windows Update by default to fetch clean system files. If your local WSUS configuration is broken, your network blocks the connection, or your component store is severely damaged, the fetch fails. You can read more about how component stores work by checking out the official Microsoft DISM Documentation for deeper technical background.
Method 1: Check Windows Update Service
Sometimes the easiest explanation is the right one, and the system simply cannot talk to Microsoft servers. We need to verify that your background services are running smoothly and that your network stack is clear of any lingering corruption. Open your Start menu, type cmd, right-click on Command Prompt, and select Run as administrator. Once you have an elevated prompt window open, run the following command to reset your local network settings and flush the DNS resolver cache.
ipconfig /flushdnsNext, let us ensure that the underlying Windows Update service is actually active and set to automatic trigger. If this service is disabled by a third-party utility or group policy, DISM will throw error 0x800f081f every single time. Execute this command in your administrative prompt to start the service manually.
net start wuauservMethod 2: Use a Healthy ISO or WIM Source
If Windows Update refuses to cooperate as a repair source, we can bypass it entirely by pointing DISM toward a known healthy installation media file, like an official Windows ISO. First, download the matching version of Windows from the Microsoft Software Download Page and mount the ISO file by double-clicking it in File Explorer. Note the drive letter assigned to the mounted ISO, such as drive D:. Now, we will instruct DISM to pull the install.wim file directly from that mounted drive instead of reaching out to the internet.
DISM /Online /Cleanup-Image /RestoreHealth /Source:wim:D:\sources\install.wim:1 /LimitAccessUsing the LimitAccess switch tells Windows not to attempt contacting Windows Update if it fails to find a file locally, forcing it to rely completely on your mounted media source. If your installation media uses an install.esd file instead of a wim file, you will need to adjust the command slightly. Make sure you swap out the letter D with whatever drive letter your system assigned to your mounted media.
DISM /Online /Cleanup-Image /RestoreHealth /Source:esd:D:\sources\install.esd:1 /LimitAccessDealing with persistent licensing activation issues alongside stubborn system errors can slow down your workflow immensely. If your current operating system installation lacks a genuine digital license or you need to upgrade to a professional edition to unlock advanced group policies, you should secure a verified key immediately.
Browse Microsoft Operating Systems Licenses
Method 3: Run System File Checker
Once DISM has successfully repaired the underlying component store using your healthy source files, you should always follow up with the System File Checker utility. SFC scans all protected operating system files and replaces any corrupted caches with clean copies from the newly repaired store. Keep your administrator command prompt open and fire off this classic utility command.
sfc /scannowAllow this scan to run completely undisturbed until it reaches one hundred percent completion. If SFC reports that it successfully repaired damaged files, I strongly recommend rebooting your machine immediately to let the kernel apply those fixes during the next startup sequence.
Method 4: Perform an In-Place Upgrade
If you have tried all the command-line tricks and error 0x800f081f still refuses to budge, your underlying registry hives or component manifests are likely too damaged for a simple repair. Your best bet here is performing a non-destructive in-place upgrade using the Windows Media Creation Tool. This process refreshes all system files, drivers, and core binaries while keeping all your personal desktop files, user accounts, and installed desktop applications completely intact.
Just download the tool from Microsoft, run it while inside your operating system, and choose the option to upgrade this PC now. It behaves just like a major feature update installation, ironing out deep-seated corruption that standard administrative repair tools simply cannot touch.


