



How To Repair Corrupted Windows System Files Using Sfc And Dism

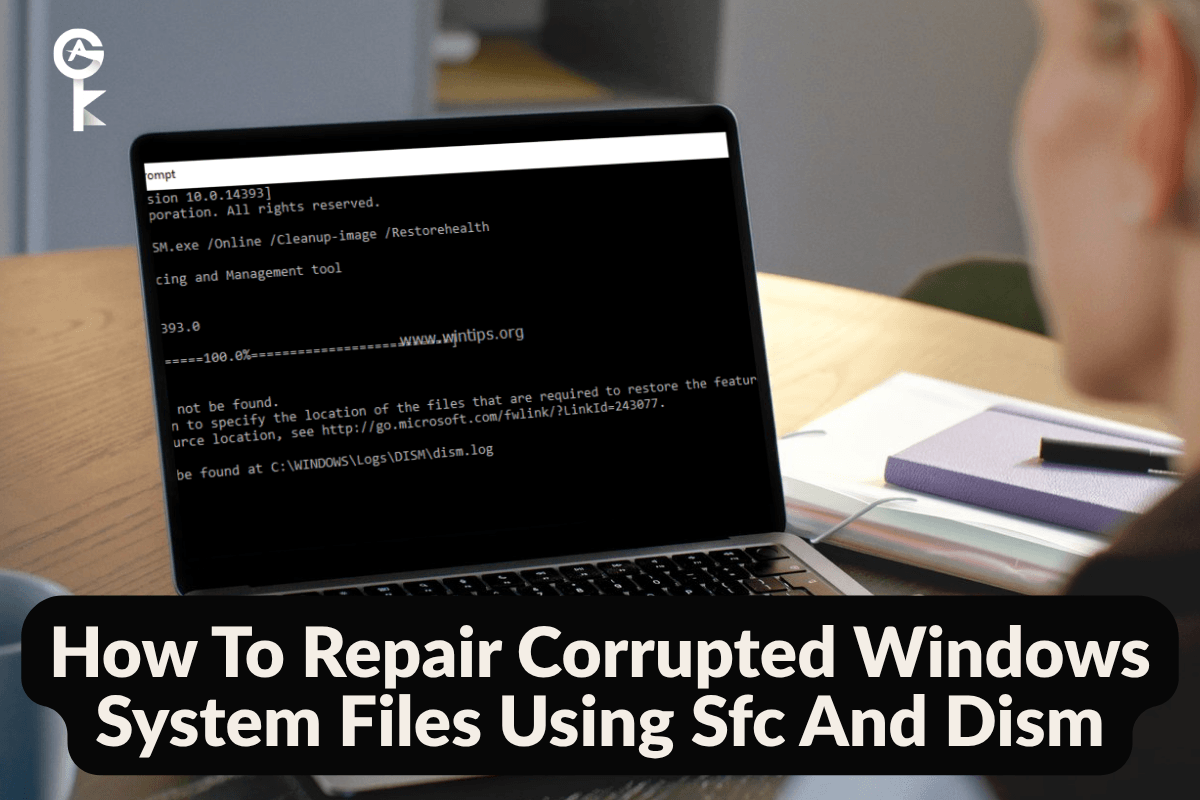
Learning how to repair corrupted Windows system files using sfc and dism is one of the most reliable skills you can develop to keep your computer running smoothly. When your PC starts acting up, throwing random error messages, or crashing to a blue screen, a damaged operating system file is usually the culprit. I have spent years troubleshooting stubborn Windows installations, and I can tell you that running these two built-in command-line utilities fixes about ninety percent of unexplained system instability. If you want to dive deeper into official troubleshooting methodologies, you can always check out the guidance provided by Microsoft Support or read technical breakdowns on Microsoft Learn.
Table of Contents
Understanding System File Corruption
System files get corrupted for all kinds of reasons. A sudden power outage, a faulty Windows Update, failing storage drives, or aggressive malware removal can leave critical operating system components damaged or missing. When this happens, Windows loses its stability. You might notice apps refusing to open, settings freezing up, or boot loops ruining your morning. Before you think about wiping your hard drive and reinstalling the entire operating system, you need to know how to repair corrupted windows system files using sfc and dism. These tools work hand in hand to locate the damage and replace broken files with healthy, pristine copies.
Step 1: Running the DISM Tool
Always run the Deployment Image Servicing and Management tool first. Think of DISM as the heavy lifter. It checks and repairs the underlying Windows component store, which the System File Checker relies on to pull clean replacement files. If your component store is heavily damaged, SFC will fail to fix your system. To get started, press your Windows key, type command prompt, right-click the result, and select Run as administrator. Once you have an elevated command prompt open on your screen, copy and paste the following command to scan your system health:
DISM.exe /Online /Cleanup-image /ScanhealthAfter the scan finishes, if it reports that component store corruption was detected, you need to initiate the actual repair process. This command tells DISM to contact Windows Update servers via the internet to download and swap out any broken components with fresh files. Execute the restore health command by pasting this into your elevated command prompt window:
DISM.exe /Online /Cleanup-image /RestorehealthThis process can take anywhere from ten to twenty minutes depending on your internet speed and hard drive performance. Do not close the window or interrupt the process until it hits one hundred percent. Once DISM finishes fixing the component store successfully, you are finally ready to tackle the individual operating system files.
Browse Microsoft Operating System Licenses
Step 2: Running the SFC Scan
Now that your component store is verified and healthy, we can run the System File Checker. This utility scans all protected operating system files and replaces incorrect or corrupted versions with correct ones. Keeping your system optimized relies heavily on knowing how to repair corrupted windows system files using sfc and dism in this exact sequence. Leave your administrator command prompt open, and type the following command to start the scan:
sfc /scannowThe SFC tool will carefully examine every single core file on your computer. When the scan wraps up, you will see one of a few messages. If it says Windows Resource Protection found corrupt files and successfully repaired them, give yourself a pat on the back because the fix worked. If it says Windows Resource Protection did not find any integrity violations, your system files were fine all along, and your issue lies elsewhere. If it says Windows Resource Protection could not perform the requested operation, you will need to boot your computer into Safe Mode and run the command again.
Advanced Troubleshooting Steps
Sometimes, a standard repair scan is not enough to bring a severely damaged machine back to life. If you completed both steps and your PC is still acting erratically, you might be dealing with failing hardware or deep registry corruption. Before giving up and wiping your drive, run a disk check to ensure your storage hardware is healthy. Type this command into your administrative command prompt:
chkdsk C: /f /rSince your C drive is currently in use, Windows will ask if you want to schedule this check the next time the system restarts. Type Y and press enter, then restart your computer. Let the disk check run completely uninterrupted. Mastering how to repair corrupted windows system files using sfc and dism combined with a proper disk check will save you countless hours of frustration and keep your workstation performing at its absolute best.


