



How To Install And Activate Rds Client Access Licenses Cals Step By Step Guide

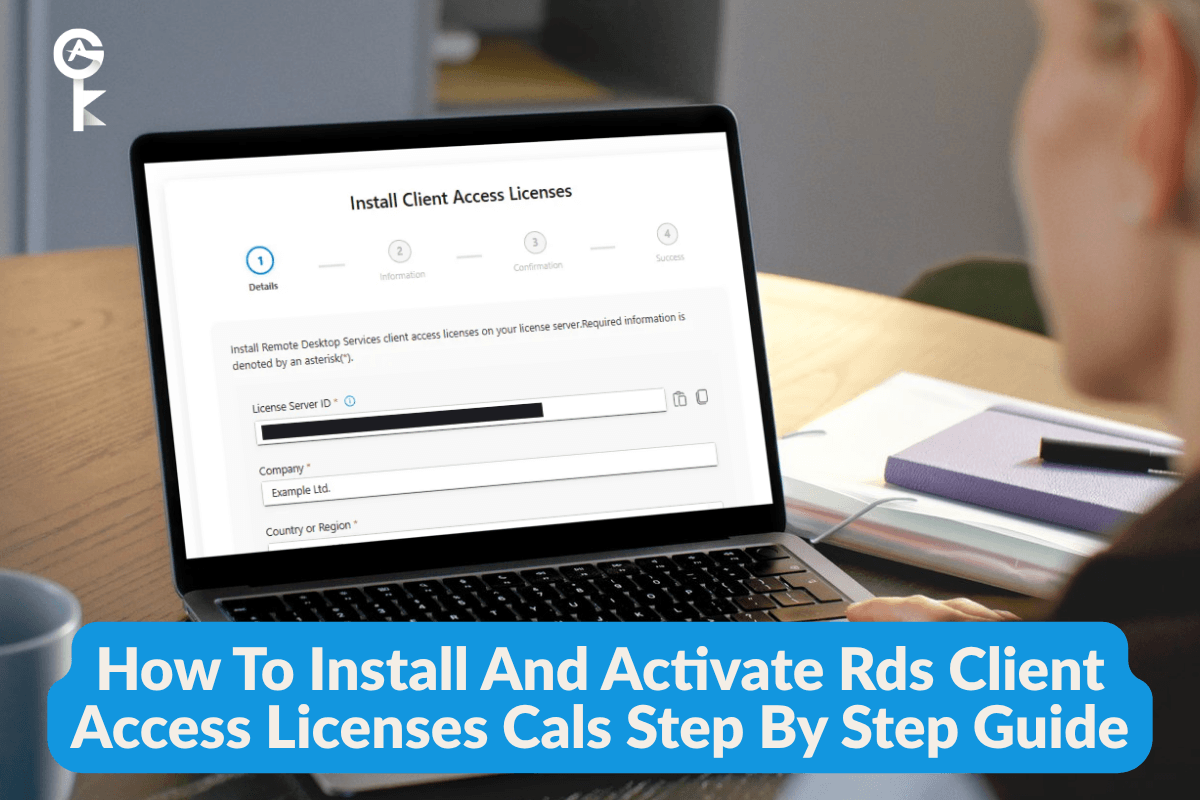
If you have ever stared at a locked Remote Desktop session because your users hit an unexpected licensing wall, you already know how stressful server management can get. Learning how to install and activate RDS Client Access Licenses CALs step by step is one of those foundational skills that keeps your organization running smoothly without sudden downtime. Whether you are scaling up your enterprise infrastructure or simply fixing a lapsed 120-day grace period on a new server, getting the licensing right saves you from massive headaches down the road. Let us walk through the exact mechanics of setting up your Remote Desktop Licensing infrastructure natively, using proven administrative tools.
Table of Contents
Phase 1: Preparing Your Licensing Server
Before we touch any server manager panels, we need to make sure your environment is structurally sound. You can host the Remote Desktop Licensing role on a dedicated server or a Domain Controller, though keeping it isolated is generally best practice for enterprise auditing. You should verify your network settings, static IP configurations, and administrative credentials. For official architectural planning and security baselines, check out the recommendations on Microsoft Learn.
First, let us check your current operating system version and ensure your administrative shell is running with elevated privileges. Open an elevated PowerShell prompt to verify your host name and environment status before adding any new roles.
Get-ComputerInfo | Select-Object OsName, CsName, WindowsVersionPhase 2: Installing the RD Licensing Role
Now that your environment is ready, we will deploy the actual licensing binaries. While you can use the graphical Server Manager wizard, seasoned sysadmins prefer PowerShell for its speed and reliability. This command installs the Remote Desktop Licensing service along with the necessary management tools directly onto your local server.
Install-WindowsFeature -Name RDS-Licensing -IncludeManagementToolsOnce the installation finishes, you need to restart the server if prompted, or at the very least verify that the licensing service is actively running in the background. You can check the service state using the command line to ensure it is set to automatic startup.
Get-Service -Name TermServLicensingPhase 3: Activating the Server and Installing CALs
With the role installed, the server itself must be activated with Microsoft, and then your purchased license packs must be imported. You will use the Remote Desktop Licensing Manager tool for this phase. If you need to acquire genuine license keys or expand your user capacity, you can Browse Microsoft Servers Licenses to find verified keys that match your environment requirements.
Open the licensing manager via the Start menu or by executing its administrative binary directly from a command prompt. This opens the GUI console where you right-click your server name and select Activate Server to walk through the wizard.
licmgr.exeAfter activation, right-click the server again and select Install Licenses. Input your product identifiers or license pack codes. To double-check that your active CALs are registered properly and available for distribution to your remote users, you can review broader administrative insights over at the Microsoft Tech Community.
Phase 4: Troubleshooting and Verification
Sometimes, even after following every step correctly, session hosts fail to talk to the licensing server. This usually manifests as a Group Policy mismatch or a lingering registry pointing error. You must explicitly configure your session hosts to point to your new licensing server and define the licensing mode as either Per User or Per Device.
To resolve registry-level targeting issues on your Remote Desktop Session Host, you can force the licensing server configuration directly into the system registry using PowerShell. Make sure you replace the server name in quotes with your actual licensing server hostname or IP address.
$RegistryPath = "HKLM:\SYSTEM\CurrentControlSet\Control\Terminal Server\RCM\Licensing Core"
New-ItemProperty -Path $RegistryPath -Name "LicensingMode" -Value 4 -PropertyType DWORD -Force
Next, you need to point the session host directly to your activated license server address in the registry parameters. Execute this command to enforce the target licensing server assignment across your local machine.
$TargetServerPath = "HKLM:\SOFTWARE\Policies\Microsoft\Windows NT\Terminal Services"
If (!(Test-Path $TargetServerPath)) { New-Item -Path $TargetServerPath -Force }
New-ItemProperty -Path $TargetServerPath -Name "LicensingServers" -Value "YOUR_LICENSING_SERVER_NAME" -PropertyType String -Force
Finally, restart your Remote Desktop Services to clear out any stale cache and force the server to poll the licensing database cleanly. This ensures your users can log in immediately without hitting unexpected licensing roadblocks or grace period warnings.
Restart-Service -Name TermService -Force


