



How To Check Windows Activation Status (Best Step-by-Step)

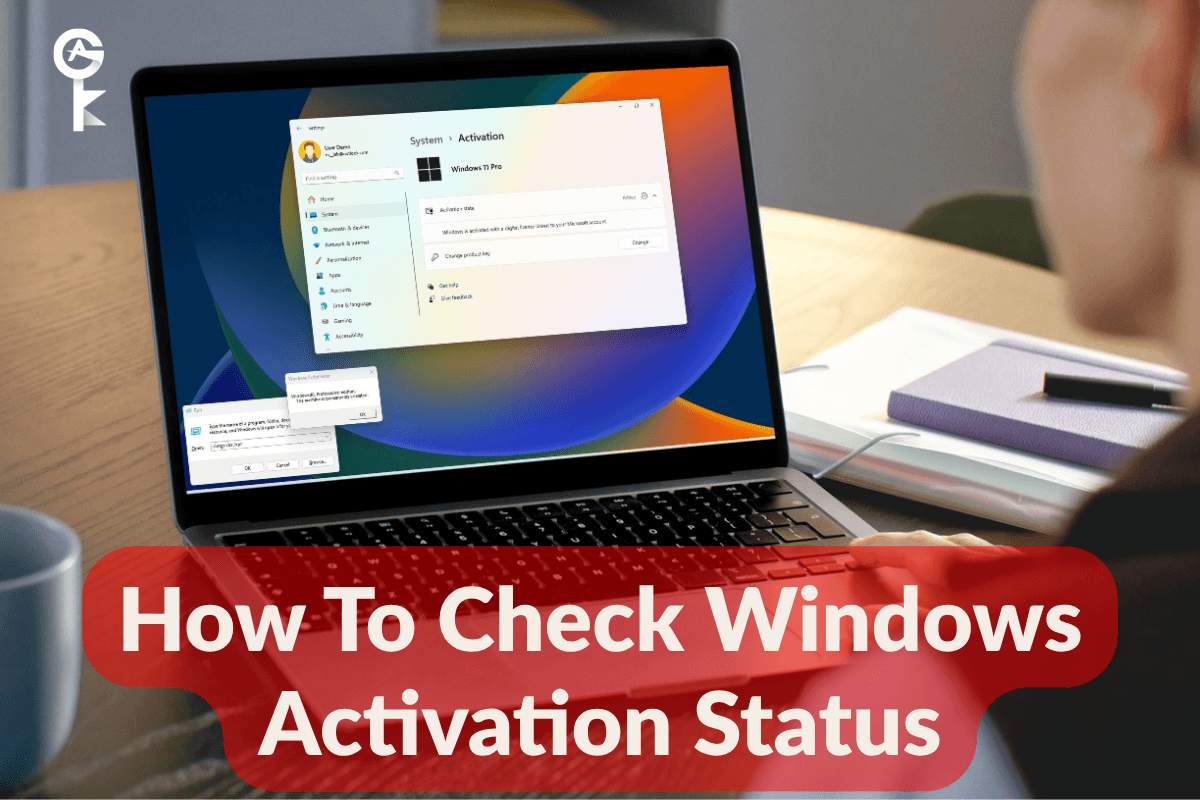
Finding out your Windows operating system’s genuine status is simpler than you might think. This guide will walk you through exactly how to check Windows activation status, ensuring your system is running smoothly and securely. It’s important to know if your copy of Windows is properly activated, whether you just installed a fresh version or are troubleshooting a persistent watermark. Let’s get started.
Table of Contents
- Why Windows Activation Matters So Much
- Method 1: Checking Activation via Windows Settings (Quickest Way)
- Method 2: Using Command Prompt for Activation Details (Tech-Savvy Approach)
- Method 3: PowerShell for Detailed Licensing Information (For the Curious)
- Understanding Your Windows Edition (Home, Pro, etc.)
- What to Do If Your Windows Isn’t Activated
- Common Windows Activation Issues and Quick Solutions
Why Windows Activation Matters So Much
When your Windows isn’t activated, you’re missing out on a complete, secure experience. An unactivated system usually displays a watermark on your desktop, which can be quite distracting. More importantly, it limits your ability to personalize your PC and sometimes restricts critical security updates.
This means your computer could be vulnerable to security risks, leaving your personal data exposed. Staying activated ensures you receive all the latest features and patches. It truly keeps your digital life safe and your computer running at its best.
Method 1: Checking Activation via Windows Settings (Quickest Way)
This is usually the first place you’ll want to look. Microsoft has made it really straightforward to check your Windows activation status right from your system settings. This method works perfectly whether you’re on Windows 10 or Windows 11.
Step-by-Step Instructions:
-
Open Settings: The quickest way is to press the Windows Key + I on your keyboard. You can also click the Start Menu and select the gear icon to open Settings.
-
Navigate to the Activation Section:
-
For Windows 11 users: In the left-hand menu, click on System. Then, scroll down a bit and click on Activation.
-
For Windows 10 users: On the left side, you’ll want to click on Update & Security. From there, select Activation from the sidebar menu.
-
-
Review Your Activation Status: You’ll see a section clearly labeled “Activation state” or similar. Ideally, you want to see a message like “Windows is activated with a digital license” or simply “Active.” If it shows anything else, you might have an activation issue.
Method 2: Using Command Prompt for Activation Details (Tech-Savvy Approach)
For those who like to get a bit more technical, or if the Settings app isn’t cooperating, the Command Prompt is your friend. You can pull up detailed licensing information using a simple command. This method offers a clear, no-frills look at your activation status.
Step-by-Step Instructions:
-
Open Command Prompt as Administrator: Press the Windows Key + R to open the Run dialog. Type cmd and press Ctrl + Shift + Enter simultaneously to open it with administrative privileges. This is important for the commands to work correctly.
-
Check for Permanent Activation: To see a quick overview of your activation status, type the following command and press Enter.
slmgr /xprA small window will pop up telling you if your machine is permanently activated. This indicates a valid, ongoing license. If you see an expiration date, you might have a volume license that needs renewal, or a trial version.
-
View Detailed License Information: For an even more comprehensive breakdown, including the license channel (e.g., Retail, OEM, Volume_KMS_Client), use this command.
slmgr /dliThis command provides details like the partial product key, license status, and even the activation ID. It’s especially useful for identifying the type of license associated with your system.
Method 3: PowerShell for Detailed Licensing Information (For the Curious)
PowerShell offers an even deeper dive into your Windows licensing than the Command Prompt. It’s perfect for IT professionals or anyone who wants a granular view of their system’s activation data. You can access an array of properties related to your operating system’s genuine status.
Step-by-Step Instructions:
-
Open PowerShell as Administrator: Right-click on the Start Menu (or press Windows Key + X) and select Windows PowerShell (Admin) or Windows Terminal (Admin). This ensures you have the necessary permissions.
-
Retrieve Activation Information: Type the following command and press Enter to display a concise summary of your Windows licensing status. This command provides a quick, yet informative, output.
Get-WmiObject -query 'select * from SoftwareLicensingService' | select OA3xOriginalProductKeyThis command primarily shows your OEM product key, if one is embedded in your hardware. It’s a fantastic way to recover a key tied to your computer’s original purchase. Remember, not all keys are OEM, so this field might be empty.
-
Access Full Licensing Details: For a truly comprehensive report on all installed licenses, including your Windows activation state, use this more detailed command.
Get-WmiObject -query 'select * from SoftwareLicensingProduct' | where {$_.LicenseStatus -eq 1} | select ApplicationID, ProductKeyID, LicenseStatus, DescriptionThis command filters for currently active licenses (LicenseStatus = 1). It will show you the Application ID, Product Key ID, and a description, confirming your Windows activation. This level of detail is useful for advanced troubleshooting.
Understanding Your Windows Edition (Home, Pro, etc.)
Knowing your specific Windows edition is incredibly helpful. Different editions, like Home, Pro, Enterprise, or Education, come with distinct features and licensing requirements. For example, a Windows 10 Home key won’t activate a Windows 10 Pro installation without an upgrade.
If you’re ever purchasing a new product key or planning an upgrade, this information is absolutely essential. It ensures you get the right software for your system. Here’s how to quickly find it.
Step-by-Step Instructions:
-
Open the Run Dialog Box: Press the Windows Key + R on your keyboard. This opens a small pop-up window.
-
Type “winver”: In the Run dialog box, type winver and then press Enter. This command is a classic Windows shortcut.
-
Identify Your Edition: A window titled “About Windows” will appear. Look for the line that specifies your Windows version and edition, such as “Windows 11 Pro” or “Windows 10 Home.” This window confirms your operating system’s exact variant.
What to Do If Your Windows Isn’t Activated
Discovering your Windows isn’t activated can be a bit frustrating, but it’s usually fixable. Common reasons for activation issues include using a generic key, a key that’s already been used too many times, or a significant hardware change like replacing your motherboard. If your system deactivates after such changes, don’t worry, there are paths to resolution.
Microsoft provides an Activation Troubleshooter that can often resolve minor issues automatically. Simply go back to the Activation section in Settings and look for the “Troubleshoot” option. If that doesn’t work, you might need a new, genuine product key.
Sometimes, the product key simply doesn’t match your Windows edition, causing activation to fail. Always ensure the key you’re trying to use corresponds to your installed Windows version. You might need to either upgrade your Windows edition or acquire a suitable key.
Common Windows Activation Issues and Quick Solutions
Sometimes, you encounter specific error codes or situations that prevent Windows activation. Let’s look at a few common ones and what you can generally do. These quick solutions often save you a lot of time and frustration.
Error 0xC004C003: “The activation server reported that the product key has exceeded its unlock limit.”
This error often means the product key you’re using is either invalid or has been used too many times. It’s common with counterfeit keys or keys from unauthorized resellers. Your best bet here is to acquire a legitimate key directly from Microsoft or a trusted partner.
You can purchase genuine product keys from the official Microsoft Store. Head over to Microsoft’s Windows Store for safe and reliable purchases. Always ensure you’re getting a key compatible with your Windows edition.
Windows Deactivated After a Hardware Change
If you’ve recently upgraded components like your motherboard or hard drive, Windows might detect a “new” computer and deactivate itself. This is a common occurrence because activation is often tied to your hardware signature. Don’t panic; there’s usually a way to reactivate.
The simplest solution is to run the Activation Troubleshooter in Settings, as mentioned earlier. If your license is linked to your Microsoft account, it should automatically detect the change and allow you to reactivate. For more details on this process, you can refer to Microsoft’s official support documentation on reactivating Windows after a hardware change.
Checking your Windows activation status regularly helps maintain your system’s health and security. It’s a simple step that ensures you’re always running a fully legitimate and updated version of Windows. With these methods, you’re well-equipped to keep your PC in top shape.


